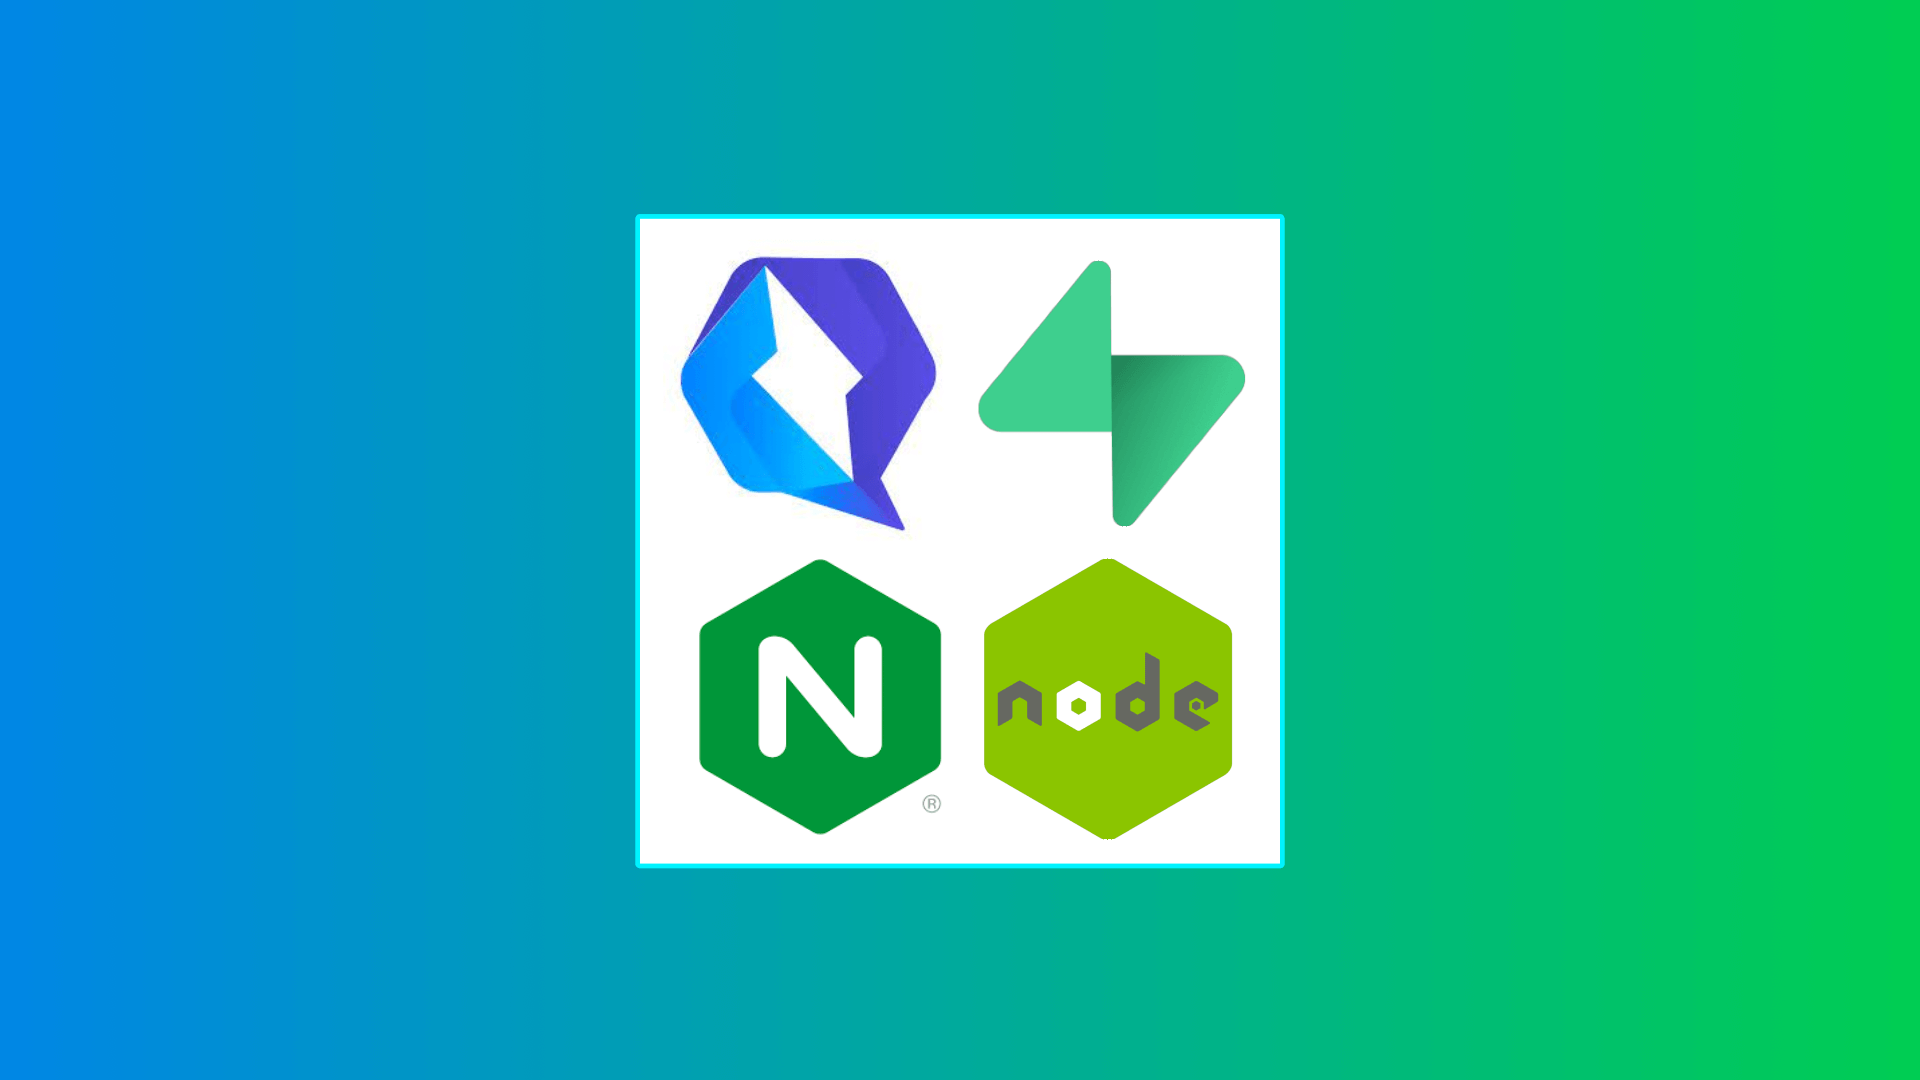
What's Inside
Welcome to this code package designed to not only get you started using Qwik, but also to enable you to easily plug and play with user authentication.
By using this code, your users will be able to experience super fast page loads and zero headaches when it comes to their authentication on the site. They will be able to choose between not only signing in via email (without needing a password), but also via GitHub, Google or any provider(s) you choose for your liking.
This package is super secure too. Your users will not be able to maliciously attack the site via standard means as their IP address will be held back via rate limiting. Oh, there aren’t any issues for CORS either given that this package comes with an NGINX configuration that enables to you bolt on any other technologies you like, including Python, Javascript, RUST, etc. You can literally run any server and have your Qwik application call it. Authorisation simply wont be a problem. You can even configure NGINX to make calls for authorisation before a request even makes it’s way to a route.
Your express server is fully set up too. Just follow the instructions on this page and you will be up and running with a full stack SAAS ready application in weeks less than you would otherwise be.
Uses
Requirements
START
What you need to get running
Below is the basic software you will need to get started:
Note: ts-node is used to enable easy coding with Typescript on the backend node express server. It will make life a lot easier. The other alternative is to use node, but that means a whole lot of compiling to javascript which we can avoid by using ts-node.
Step 1
Download package
Step 2
Start Docker (skip if you are familiar with docker)
Docker is a great way to launch and run NGINX as a reverse proxy without all the fuss and headaches.
Download docker if you have not done so already for your desktop.
Start the docker engine by opening the docker application you downloaded. IMPORTANT: Whenever running an application on docker, you will need docker for desktop started and running. If unsure, just consult with the video.
Step 3
Supabase Setup
Create a Supabase project along with a public table called ‘profiles’.
The profiles table should have the following fields added:
- id (linked to uuid from auth)
- role
- email
- any other information that you wish to capture for a given user
If you are new to Supabase, this video is very useful in helping you get set up:
https://youtu.be/8YhkBwtoKZoStep 4
Setup backend
Change directory into your ‘backend’ folder and type the following:
($ myproject/backend)
yarn --exactNow add a ‘.env’ file
($ myproject/backend)
touch .envWithin your .env file (the dot is important), add the following environment variables:
($ myproject/backend/.env)
NODE_ENV="development"

ROOT_DOMAIN_DEV=http://localhost:3005
ROOT_DOMAIN_PROD=https://yourdomain.com

SUPABASE_URL=your-supabase-url
SUPABASE_SECRET_KEY=your-supabase-secret-key
When replacing lines 6 and 7 above with your credentials, it is important that you use the exact correct keys from your Supabase settings API setup. For example, the SECRET key should be used here, NOT the PUBLIC ANON key.
The NODE_ENV environment variable will come in useful if you deploy your application to production. Simply by setting your environment variable to ‘production’ instead of ‘development’ when you launch your site, the root domain will automatically update for you.
($ myproject/backend)
yarn startYou can now test your backend is working by going to the below url in your browser: http://localhost:3001/api_v1/health
Step 5
Setup frontend
Change directory into your ‘frontend’ folder and type the following:
($ myproject/frontend)
npm ci‘ci’ stands for clean install, it should mean that the exact node packages per the GitHub download are installed.
($ myproject/frontend)
touch .envPaste in your Subabase credentials here too. This will be used within the code for protecting your API routes. They should be the same url and secret as you used when installing your backend.
($ myproject/frontend/.env)
SUPABASE_URL=your-supabase-url
SUPABASE_SECRET_KEY=your-supabase-secret-key($ myproject/frontend)
npm run build
npm run start
In your browser, at localhost:3000 you should see a webpage like in the walkthrough video above. When developing, you do not need to do npm run start after building each time, you can simply just use
npm run devStep 6
Start NGINX
NGINX is our API Gateway solution. It enables us to do many things. However, in this instance, we are using it as a ‘reverseproxy’. This essentially means that we are using NGINX to route traffic to certain domains to whichever application we choose, all under the same domain name. The approach here provides us with many advantages, including not dealing with CORS headaches in authentication and authorisation for our users.
We will also be using NGINX to perform rate limiting by IP address. Open up your terminal and change directory into the NGINX folder by typing the following:
($ myproject/)
cd proxy($ myproject/proxy)
docker build -t proxy .You will now have an image built for running NGINX. This is easy to see if you go to the docker application running on your desktop under ‘Images’ on the left hand panel.
($ myproject/proxy)
docker run -p 80:80 proxyNGINX should now be running on localhost. Go to your browser and punch in http://localhost. Note, you should not need the port number as we are running NGINX on port 80 above, so http://localhost is the same as http://localhost:80. If you using for example, port 3000, we would then specify the port.
CONGRATULATIONS
Congratulations
Go ahead and signup, then log in to visit your protected route at http://localhost.
