What's Inside
As seen on YouTube: https://youtu.be/4N8_5ZoLutI.
You know how Chat GPT can write any code you ask it to? Well…what if you could have a piece of software which not only tells AI what to write, but also to then structure and execute the code for the end user.
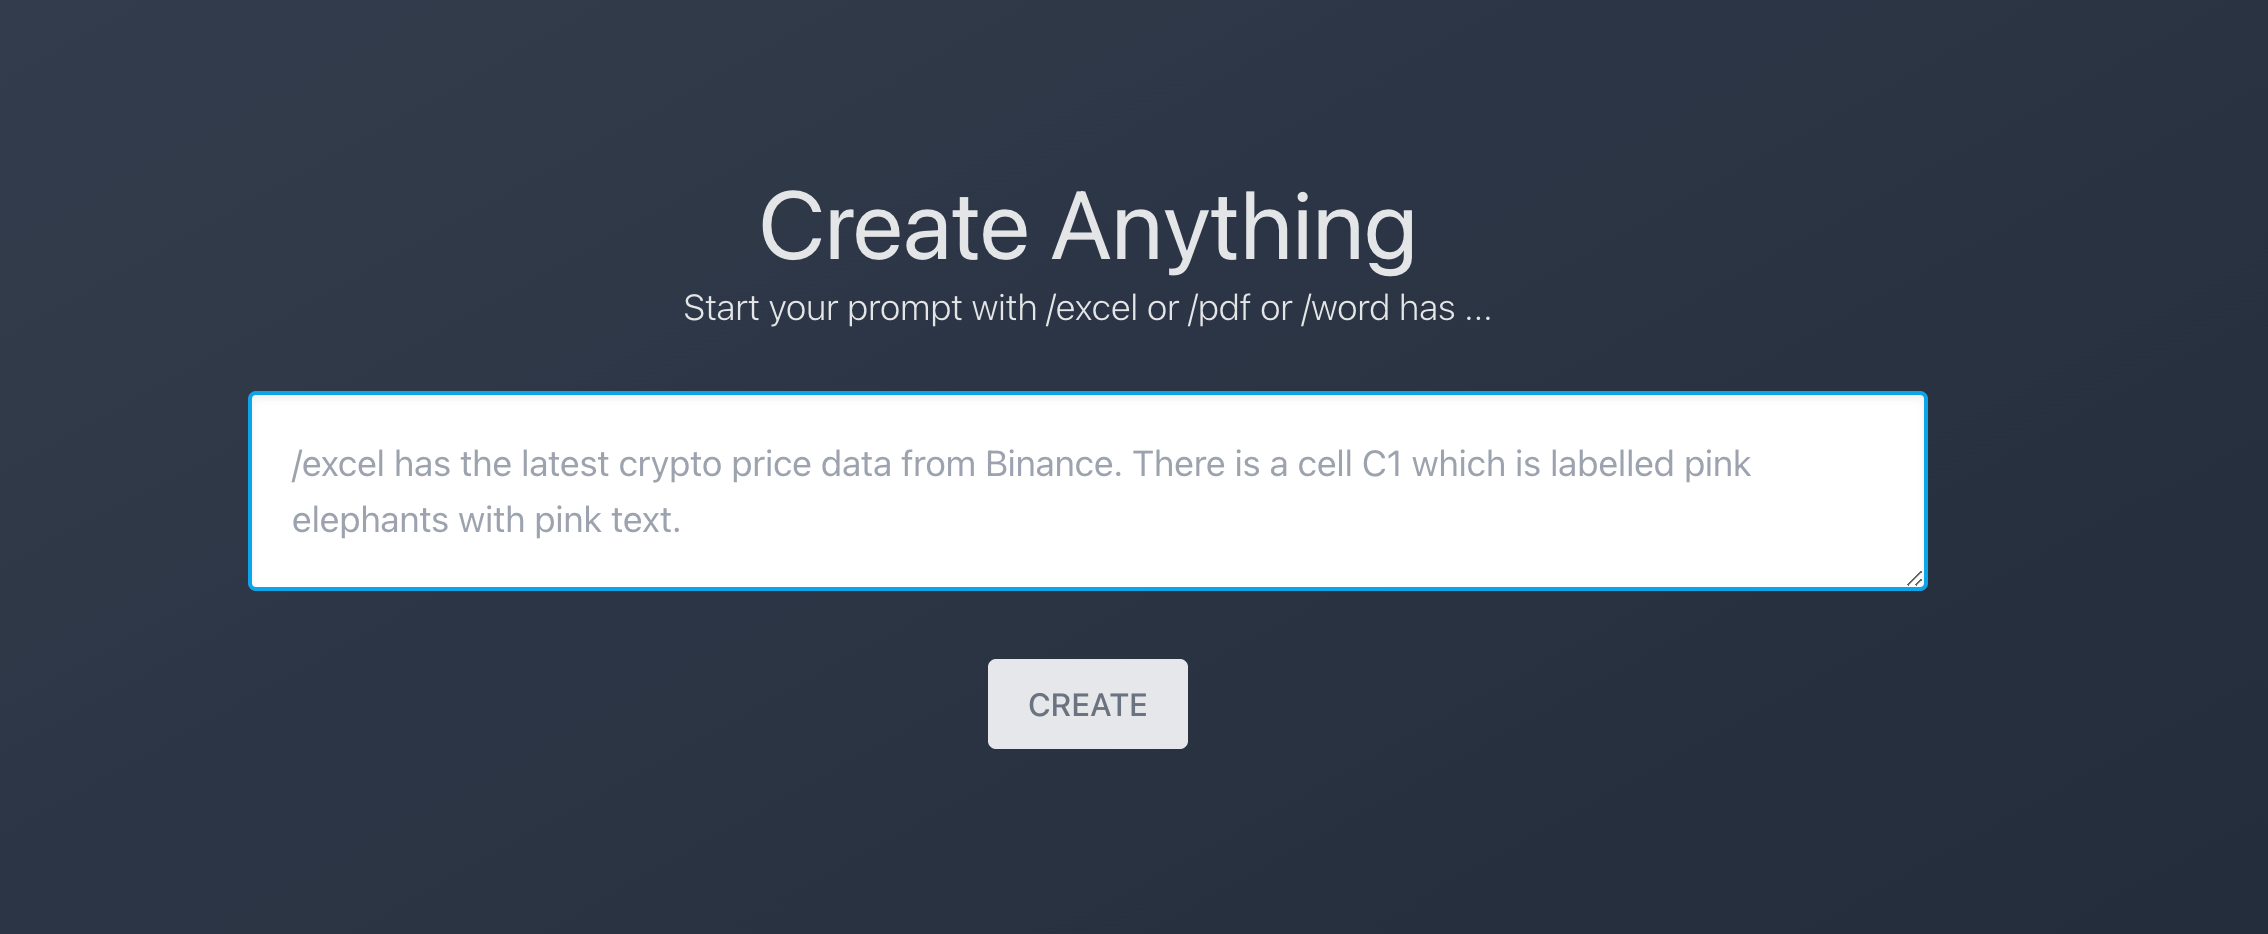
On this application, you will be able to type ‘/excel has’ followed by any command you like for AI to then understand what kind of spreadsheet you want for example. In other words, a user can type in what excel document they want and the ai will go ahead and build it for them.
Very exciting. We truly are at the beginning stages of what generative AI can do and this project if developed further could serve as an excellent no-code tool for people who really don’t want to deal with the coding side.
Uses
Requirements
Step 1
Download package
Step 2
Setup FastAPI backend
Change directory into your myproject/backend folder where the code package is saved:
$(root/)
cd myproject/backend$(root/myproject/backend)
python3 -m venv venv$(root/myproject/backend)
source venv/bin/activate$(root/myproject/backend)
source venv/Scripts/activate$(venv)(root/myproject/backend)
pip3 install fastapi "uvicorn[standard]" pandas python-decouple openai xlsxwriter docx python-docx reportlab fpdf matplotlibSPECIAL NOTE: The code which Open AI generates is still young. Meaning it can be prone to forgetting to pull in a python library, or use a python library which is not installed above. Within the backend, you will see this issue print out. When it happens, simply just install the library that the AI wants to use.
($ myproject/backend)
touch .envYou will need your Open AI Org and Key, you can get these by going here:
Within your .env file (the dot is important), add the following environment variables:
OPEN_AI_ORG = "YOUR OPEN AI ORG"
OPEN_AI_KEY = "YOUR OPEN AI KEY"
Open AI is not free, if you do not have billing set up on your account, you will not be able to make use of the application. Now run your FastAPI Instance:
$(venv)(root/myproject/backend)
uvicorn main:app --reloadYou can now test your backend is working by going to the below url in your browser: http://localhost:8000
Step 3
Setup React frontend
Change directory into your ‘frontend’ folder and type the following:
($ myproject/frontend)
yarn --exact($ myproject/frontend)
yarn build($ myproject/frontend)
yarn devYou can now test your frontend is working by going to the below url in your browser: http://localhost:3000
Step 4
Test it out
~$(venv)(root/myproject/backend)
uvicorn main:app --reloadEnsure your React frontend instance is running at the same time:
$(venv)(root/myproject/frontend)
yarn dev
/excel has 2 columns with binance crypto price data and a third column in
    the color red saying elephants
CONGRATULATIONS
Your application is working
Your file should have now downloaded. Go ahead and delete this file in the backend once you are happy and try other prompts.